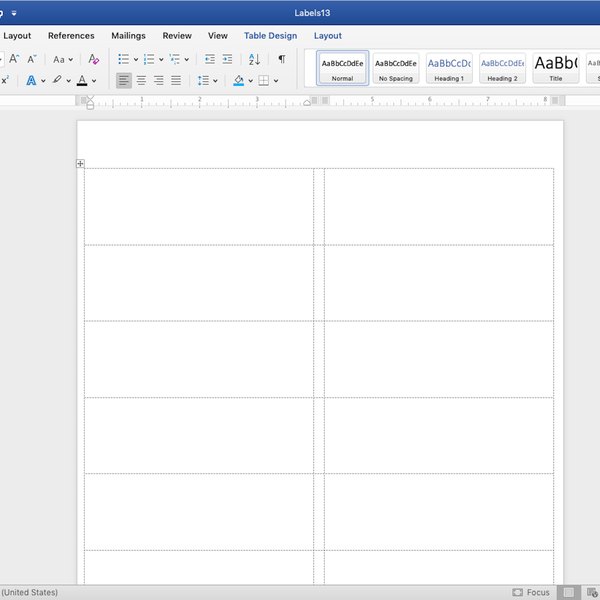
Creating A Label Template In Word
Creating A Label Template In Word - Start the create labels tool. You can stick with centimetres (and. Open a blank document and navigate to the labels option. Web create and print a page of identical labels. Web labels make life easier in a lot of ways. To create a custom label template, start by opening a blank document and then click the mailings tab in the toolbar. Web how to format labels and create label templates. Web there is no simpler way to create the labels you need. Open a blank document in word, click on the “mailings” tab at the top of the page, and click on “labels”. This opens another box titled “label options”. Go to mailings > labels. Web with your word document open, go to the top of screen and click mailings > labels > options. 1.) browse the blank microsoft word label templates below. You can stick with centimetres (and. Go to mailings > labels. Word uses centimetres by default. Type an address or other information in the address box (text only). Web create and print a page of different labels. Select the label type and size in options. Web how to format labels and create label templates. Word uses centimetres by default. Label measurements tend to use millimetres. 3.) click download this template. 4.) open the file and begin designing. You can stick with centimetres (and. Go to mailings > labels. This opens another box titled “label options”. 3.) click download this template. 4.) open the file and begin designing. Here are the steps for how to create and format label templates: You can stick with centimetres (and. Web create and print a page of identical labels. Click labels. select options. choose the applicable brand name from the second dropdown list under label information. if you're using microsoft word. Web with your word document open, go to the top of screen and click mailings > labels > options. If gridlines are not displayed, go to layout > view gridlines to turn. Label measurements tend to use millimetres.. Web create and print a page of identical labels. Click on the “options” button to create a new label template. If gridlines are not displayed, go to layout > view gridlines to turn. Web open on the mailings tab in the menu bar. Click labels. select options. choose the applicable brand name from the second dropdown list under label information.. Web create and print a page of different labels. 2.) select the corresponding downloadable file for your label sheets. Web open a new word document, head over to the “mailings” tab, and then click the “labels” button. Web open on the mailings tab in the menu bar. Start the create labels tool. Web with your word document open, go to the top of screen and click mailings > labels > options. Web there is no simpler way to create the labels you need. Word opens a new document that contains a table with dimensions that match the label product. Go to mailings > labels. This will open a box titled “envelopes and. Go to mailings > labels. In the envelopes and labels window, click the “options” button at the bottom. Web create and print a page of identical labels. Click on the “options” button to create a new label template. Web there is no simpler way to create the labels you need. Here are the steps for how to create and format label templates: 3.) click download this template. 4.) open the file and begin designing. Label measurements tend to use millimetres. Web create and print a page of different labels. Web labels make life easier in a lot of ways. 2.) select the corresponding downloadable file for your label sheets. Click ok. hit new document. 3.) click download this template. 4.) open the file and begin designing. Go to mailings > labels. In the envelopes and labels window, click the “options” button at the bottom. Web there is no simpler way to create the labels you need. Web create and print a page of different labels. Web with your word document open, go to the top of screen and click mailings > labels > options. In the label options window that opens, select an appropriate style from the “product number” list. Go to mailings > labels. Web template tuesday top tips for using the create labels tool enter your measurements (except number across/down) as a value, followed by a single blank space, followed by the. Type an address or other information in the address box (text only). Word opens a new document that contains a table with dimensions that match the label product. Here are the steps for how to create and format label templates: Web open on the mailings tab in the menu bar. Click labels. select options. choose the applicable brand name from the second dropdown list under label information. if you're using microsoft word. Word uses centimetres by default. 1.) browse the blank microsoft word label templates below. If gridlines are not displayed, go to layout > view gridlines to turn. This opens another box titled “label options”. Type an address or other information in the address box (text only). 2.) select the corresponding downloadable file for your label sheets. 1.) browse the blank microsoft word label templates below. Click on the “options” button to create a new label template. Web create and print a page of different labels. Labels let us know what things (and sometimes people) are, where (or when) they’re from—all kinds of different data. Web open a new word document, head over to the “mailings” tab, and then click the “labels” button. Web create and print a page of identical labels. To create a custom label template, start by opening a blank document and then click the mailings tab in the toolbar. This will open a box titled “envelopes and labels”. In the label options window that opens, select an appropriate style from the “product number” list. If gridlines are not displayed, go to layout > view gridlines to turn. Open a blank document and navigate to the labels option. Web template tuesday top tips for using the create labels tool enter your measurements (except number across/down) as a value, followed by a single blank space, followed by the. Web with your word document open, go to the top of screen and click mailings > labels > options. Start the create labels tool.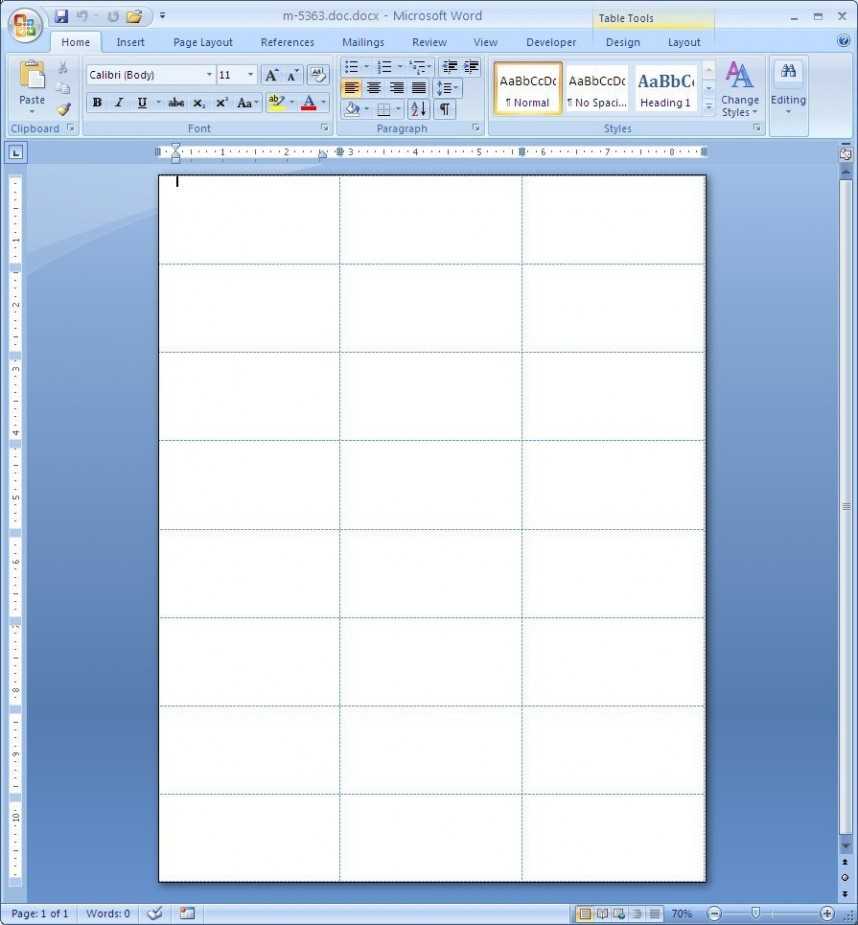
Word Label Template 21 Per Sheet
Creating Label Templates In Word

Label Template For Word TemplateDose

How To Create Labels In Word Regarding Food Label Template Word CUMED

Easily create labels with Microsoft Word Technology
How to make labels in Word Microsoft Word tutorial YouTube

How To How To Create Your Own Label Templates In Word for Label Maker

Create A Label Template In Word Best Design Idea
Create A Label Template In Word Best Design Idea

Box File Label Template Word printable label templates
Go To Mailings > Labels.
Word Uses Centimetres By Default.
Web How To Format Labels And Create Label Templates.
In The Envelopes And Labels Window, Click The “Options” Button At The Bottom.
Related Post:
